How to Organize Your Pantry Cabinet
A few weeks ago, I posted the final look of my pantry and received so many positive comments. Take a look at that post here. I also received a ton of comments and messages on the difficulties many of you have had on taking on the task of organizing your own pantry. As a result, I thought I would share the step by step process I took to getting my pantry to go from random and chaotic to organized and pleasing to the eyes!


Research
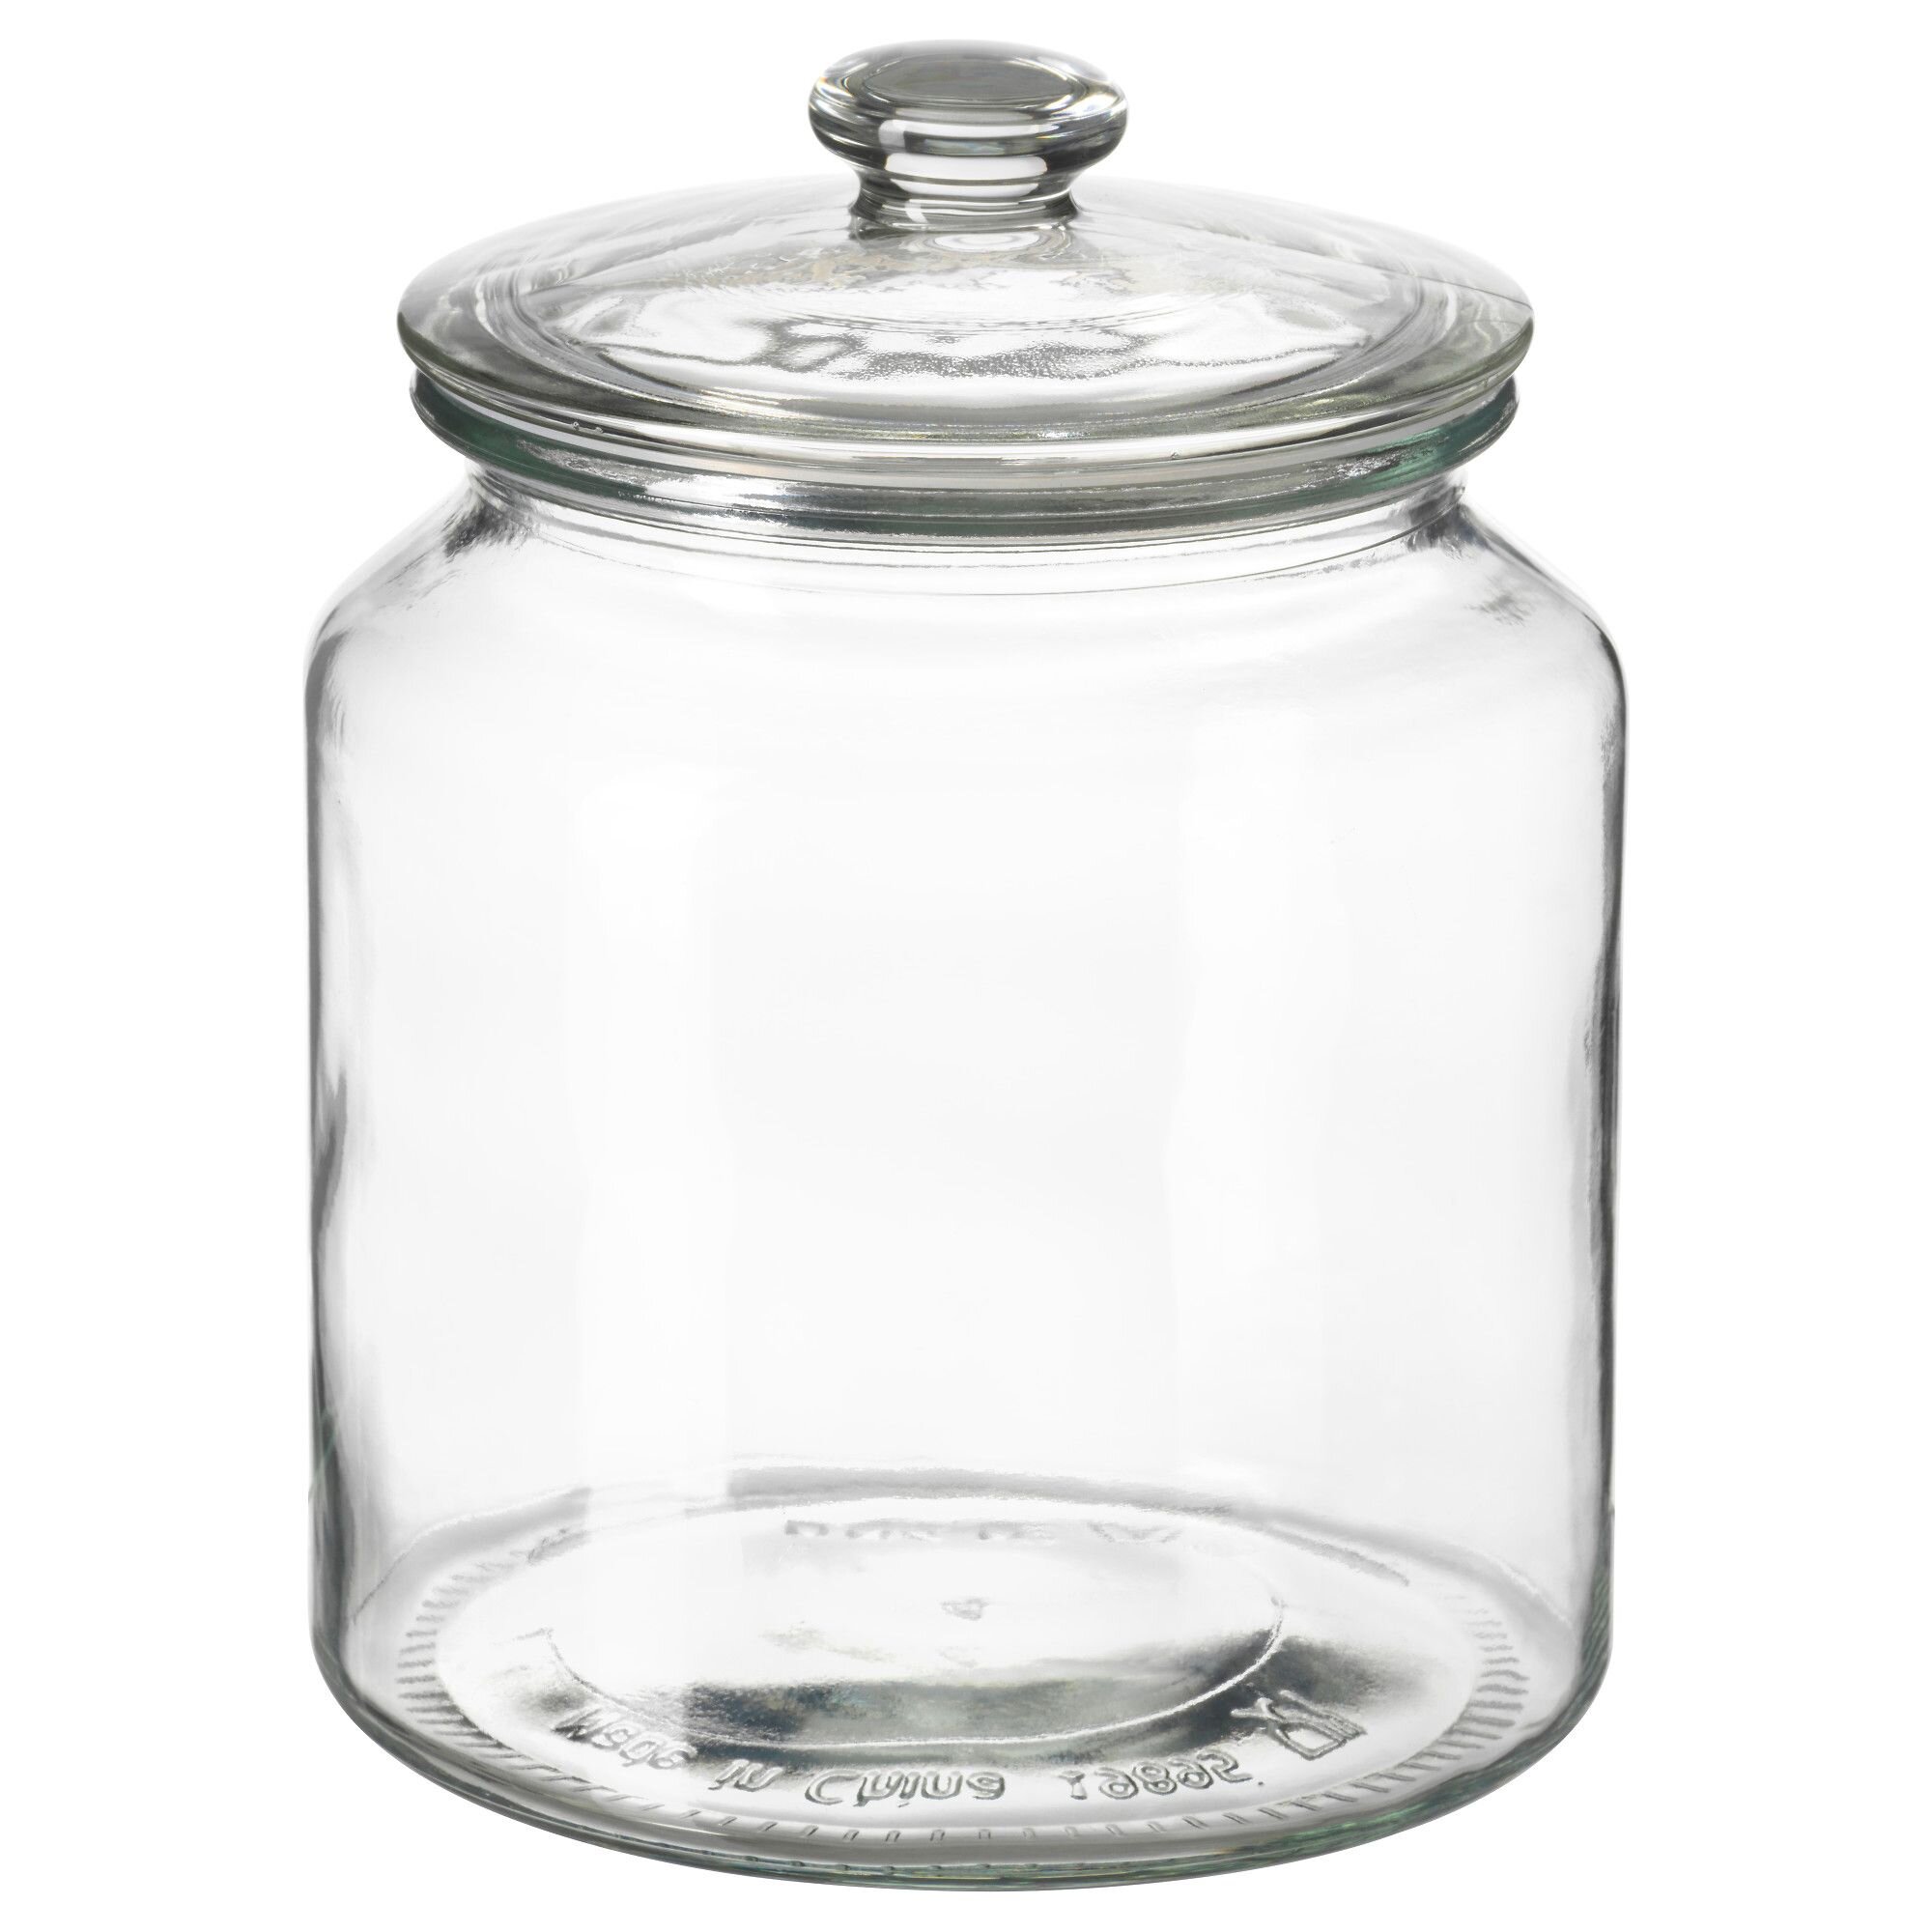
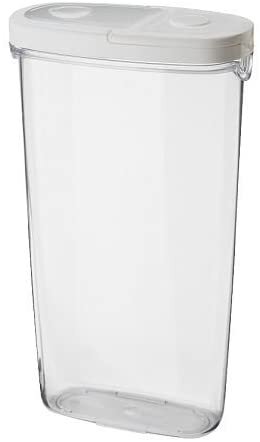
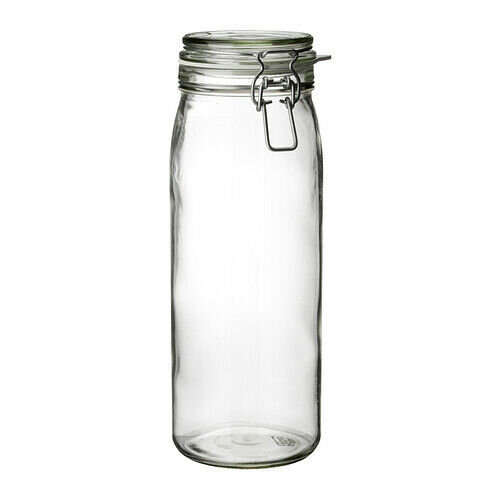
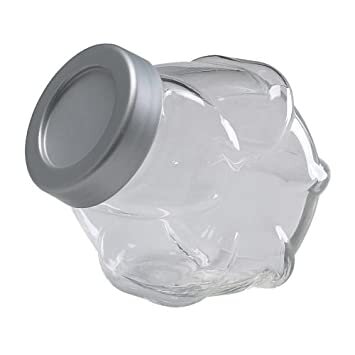
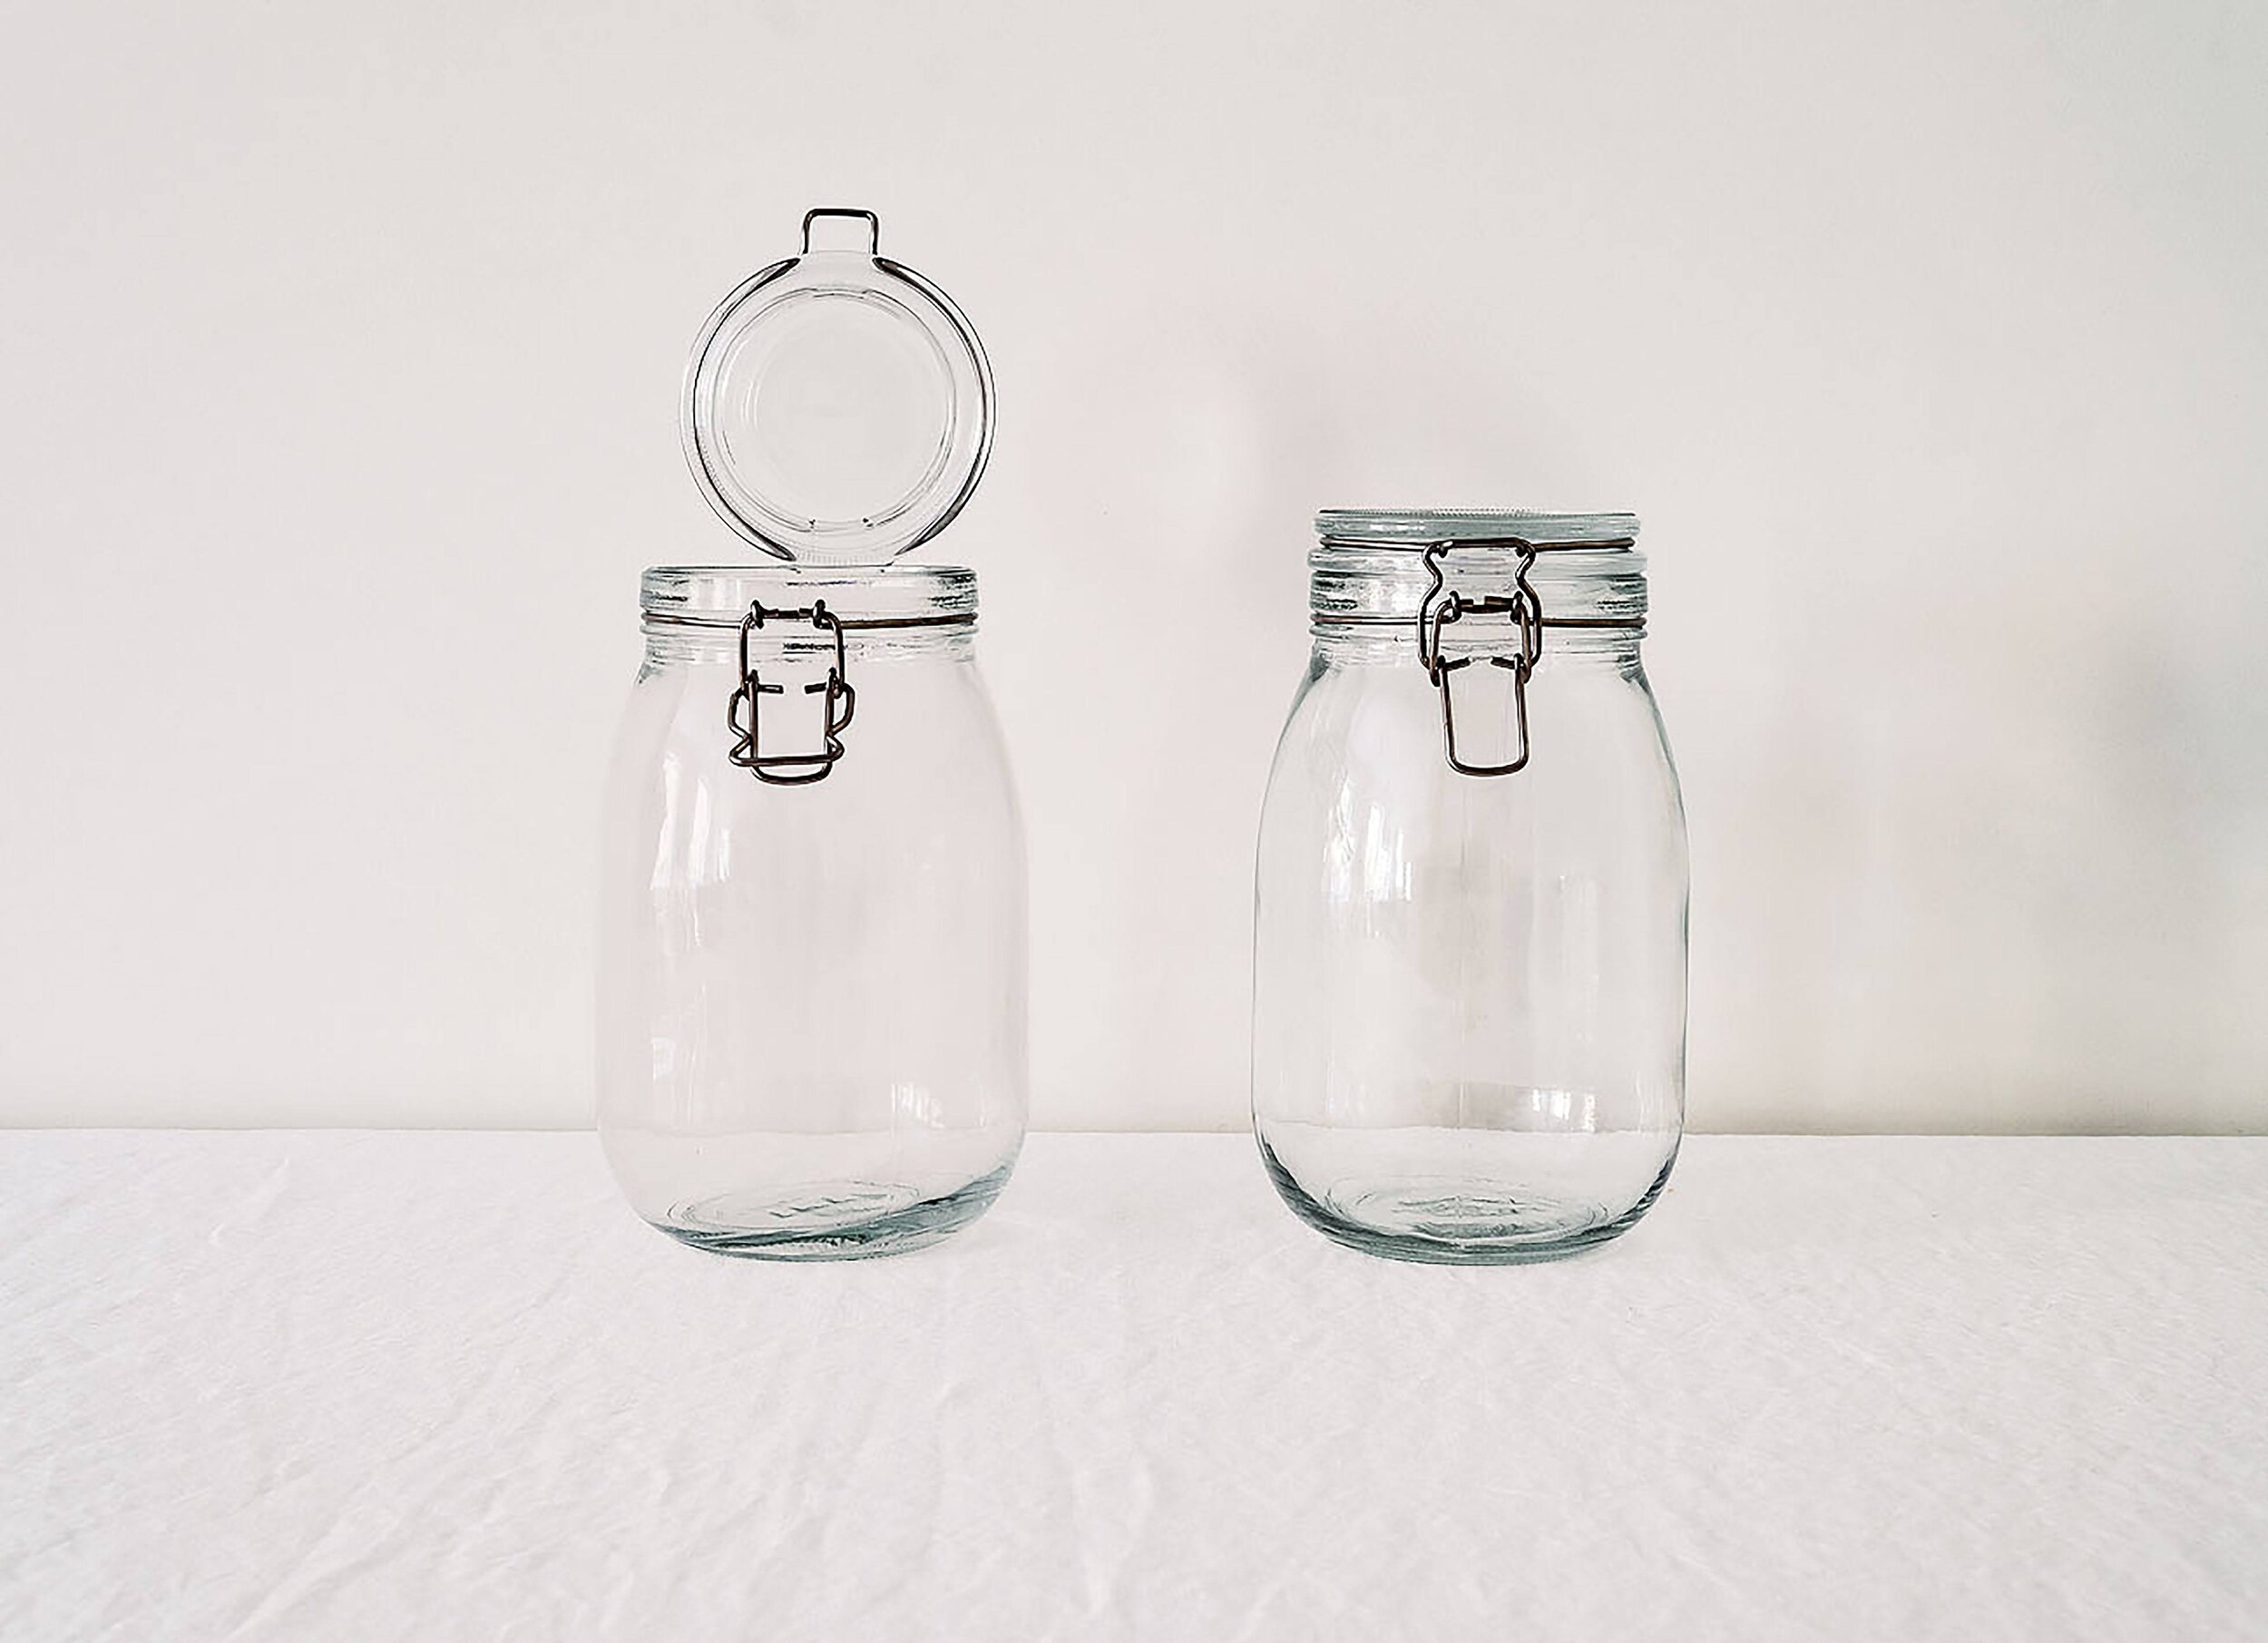
At our older home, we had a small pantry but I used containers from Ikea to organize our pantry. It was organized but it wasn’t pretty. When we moved into our current home, I knew I wanted it to look pretty, organized and coordinated. To save costs and not throw away the investment I already made in our pantry, I chose to to continue with using Ikea containers.
It is so important to get a good idea of what you want your completed pantry to look like. Look up pantry inspiration photos through Pintrest or Google. Look specifically for pantry’s that are similar to your size of your own pantry and specific to the containers you plan on using.
Ikea has pantry food containers of different material and colors. I knew I wanted white containers so I searched for “white Ikea pantry organization” to get ideas on what I want the completed pantry to look like.
List Everything
Once I knew what I wanted my pantry to look like and where I was getting my containers, I was ready to start. The very first thing I did was to list every single item I had in my pantry. This included the items that I currently don’t have in my pantry but plan to have later on or need. When creating this list, make sure to include all the following information:
Food item
The kind of container you want want to store the food item in
How many containers are needed
When deciding on the amount of containers you want, be sure to include containers for those one off items we tend to buy randomly. If your budget allows, purchase extra containers when you are unsure of how many you need. You can always return what you don’t use.
Make Labels for Everything
There are so many ways to create labels. Amazon and Etsy have tons of already made labels of different sizes and colors that you can purchase. If you have a label maker, you can make customizable labels yourself. There are some Etsy stores that sell customized labels as well. When I first started on my pantry organization last year, I bought pre-made labels from Amazon. For the containers that didn’t have pre-made labels, I bought letter stickers and pasted those on my containers. I had two problems with this method:
The font and size of the stickers were completely different than the pre-made labels
It did not look professional and it took so much work!
When it was time to redo my pantry, I got rid of all those old labels. Because I needed so many customized labels for my Nigerian food items and spices, purchasing customized labels would just be too expensive. I decided to see if anyone was providing free editable labels and after a long google search, I finally found free editable labels I could customize myself. All I needed to buy was clear sticker paper.
You can get these labels here.
Clean Your Pantry
Now that you have your containers, you know what goes in where, and you’ve created your labels, you can start moving items around! I first took everything out of the pantry but grouped like items on my kitchen island that way I know how I want my food items placed in the pantry. Anything that was old or we just were not eating, I threw away.
Once everything was out, I cleaned my shelves. I then placed the empty containers in my pantry to know how I want everything placed exactly.
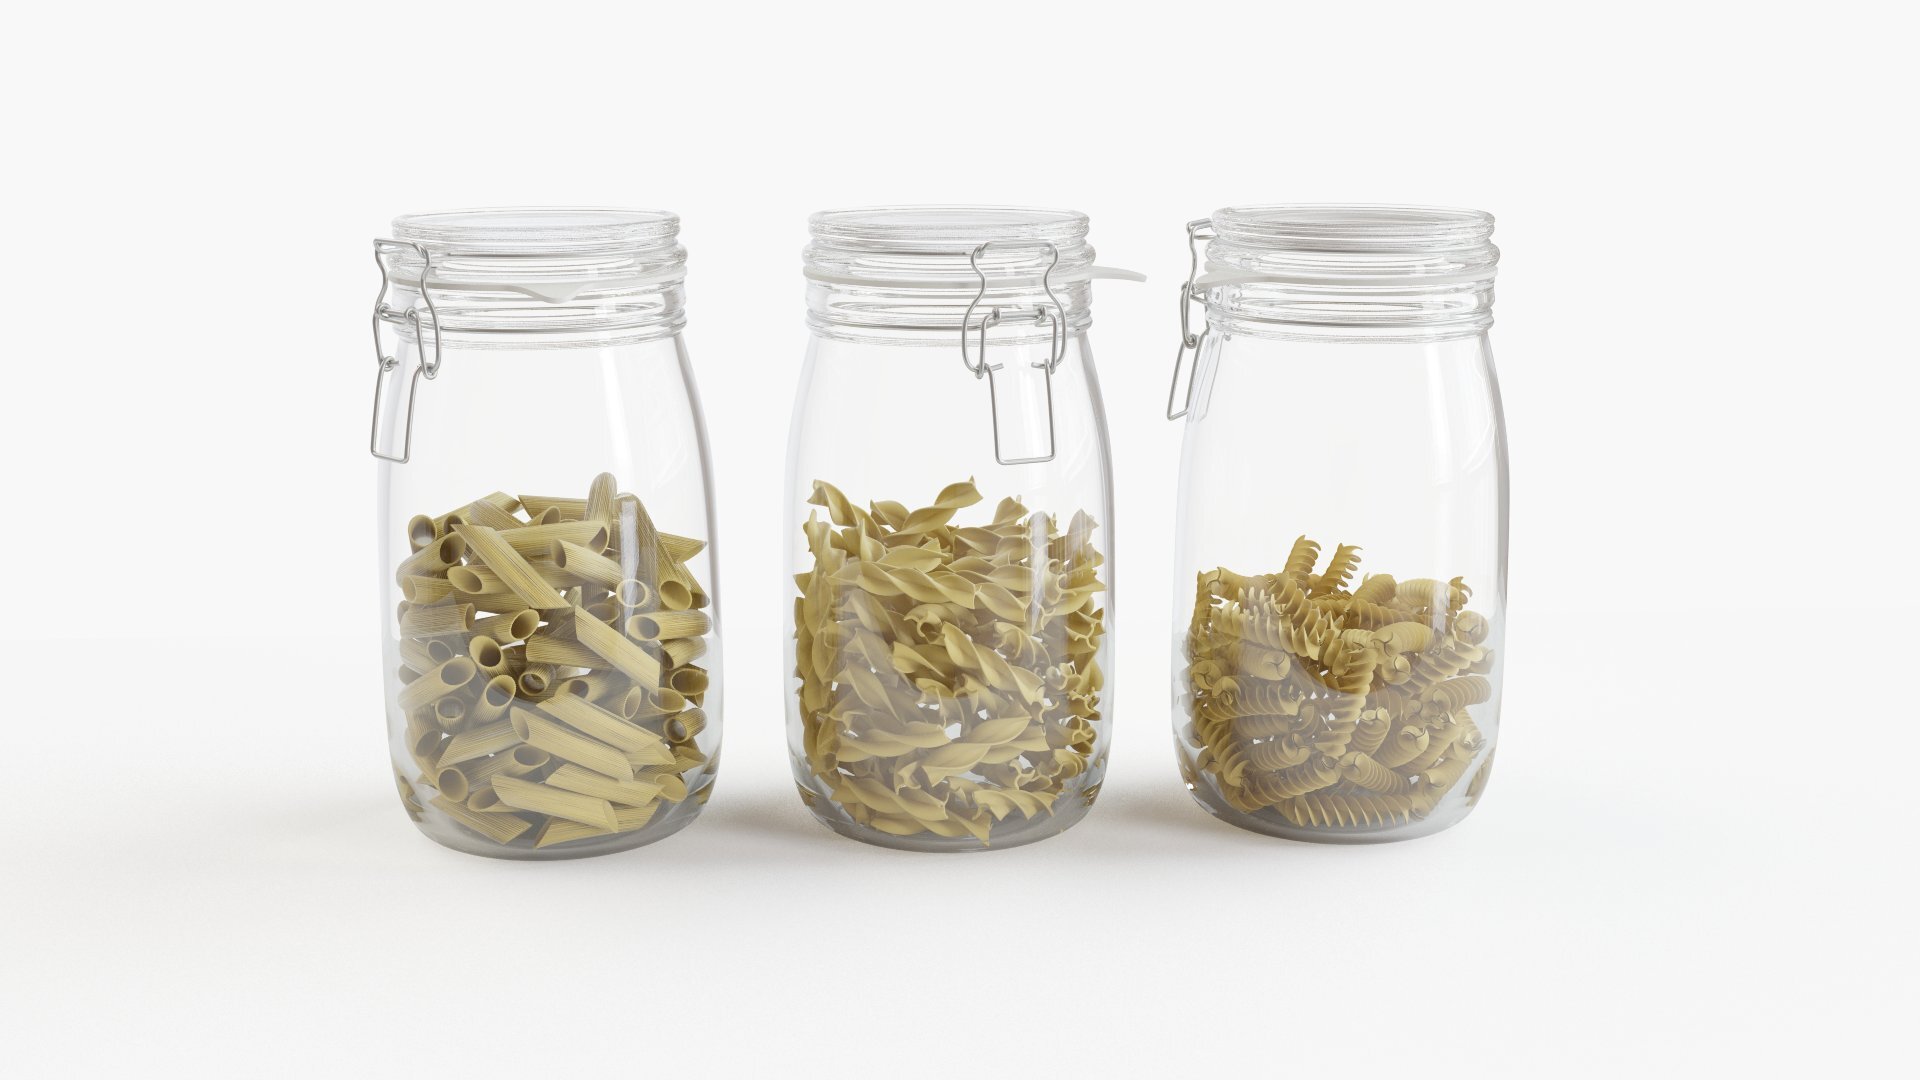
Fill Your Containers
Once I was comfortable with how everything was placed, I took the containers out of the pantry one by one to get fill up with its food item in the kitchen, labeled the container and then put it back in my pantry at its designated spot.
Placement
Once every container was put in its place, I looked at everything in the pantry as a whole and made minor changes until I was satisfied with the final look.

These are simple steps but require a bit a work and coordination. I am positive that if you follow these steps and commit to the task, you will be rewarded with a organized and beautiful pantry. If you try these steps for your pantry, share it with me! I would love to see if this post is helpful for you!
Until next time,

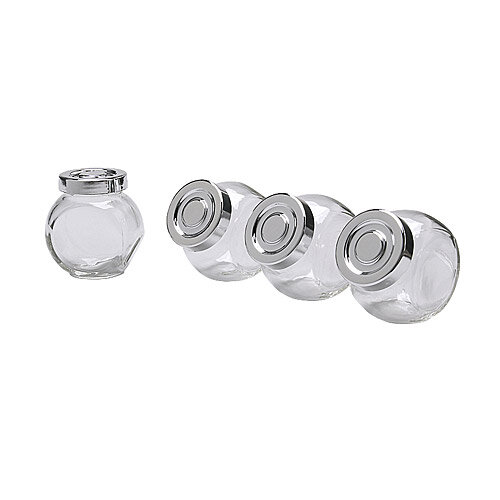
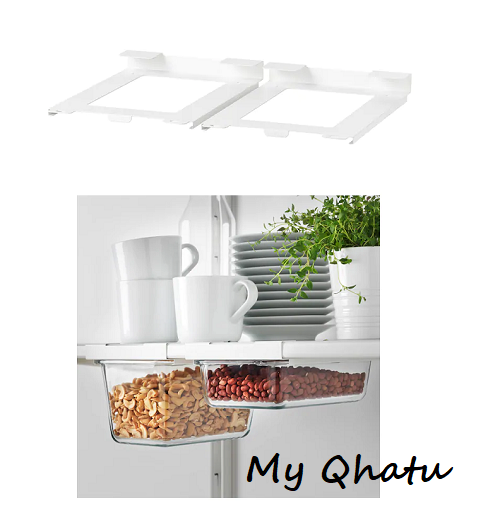
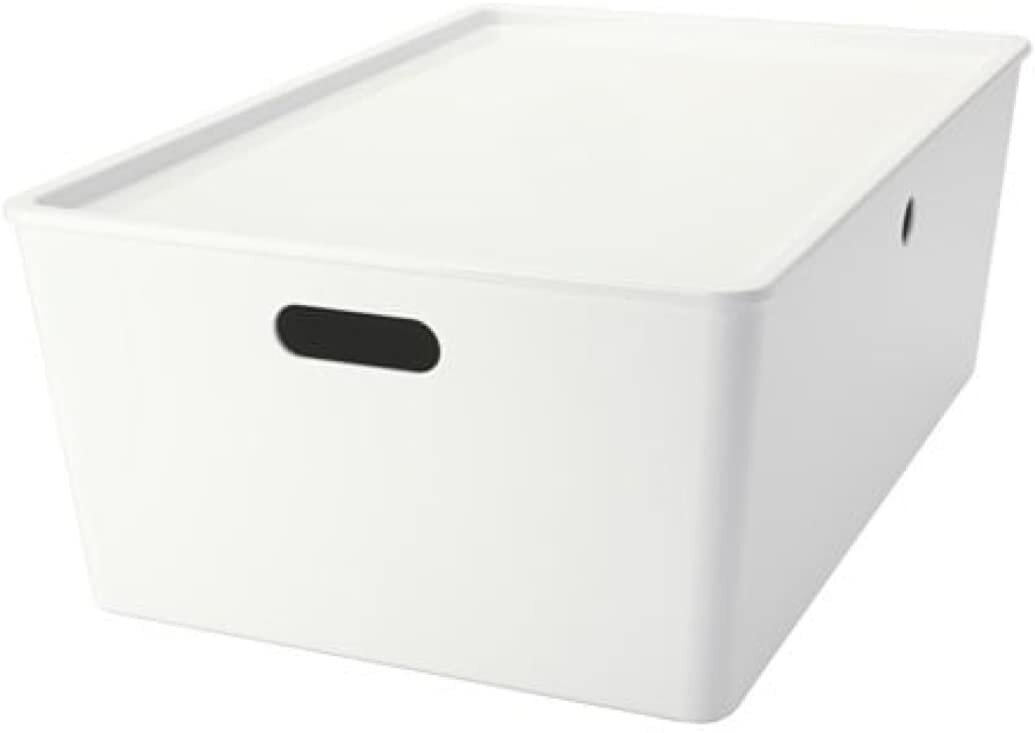
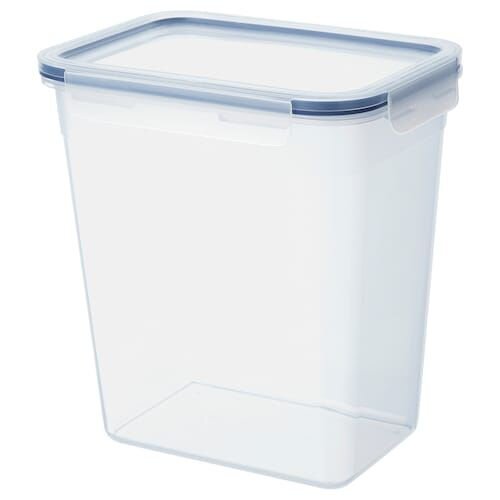
SHOP THIS POST!
Some of these links below are affiliate links, meaning at no additional cost to you, I will earn a commission if you click through or make a purchase.